
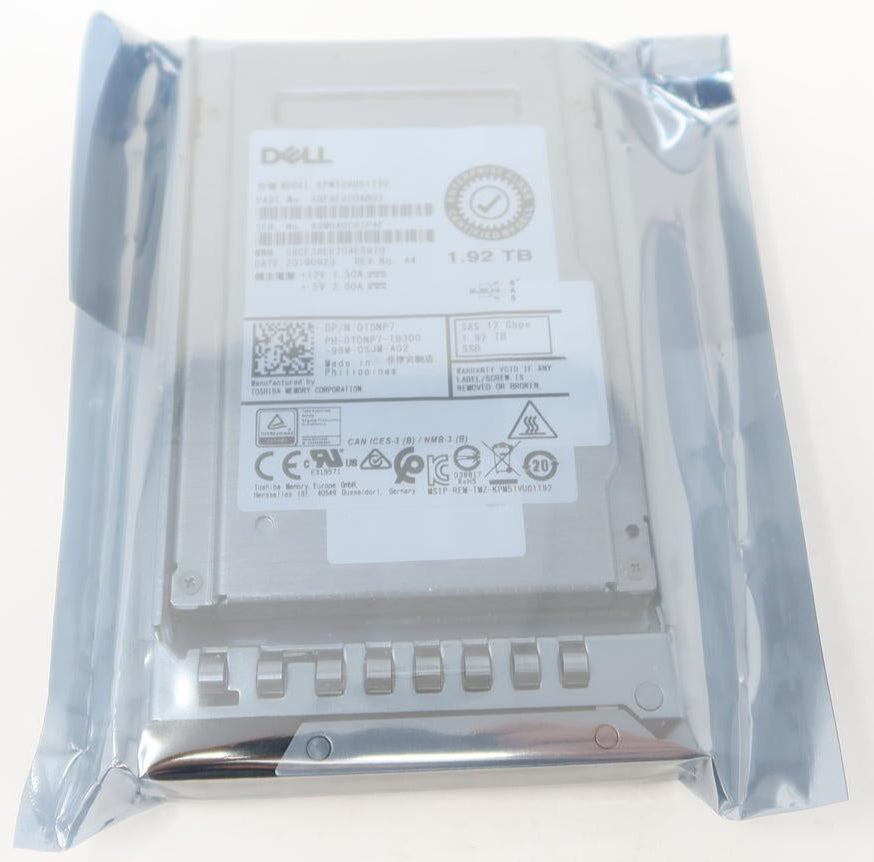
Are you looking to boost the performance of your Dell server? Integrating a high-performance SSD can significantly enhance your server's speed and efficiency. In this guide, we'll walk you through the process of incorporating the Dell 0TDNP7 Kioxia 1.92TB SAS SSD into your existing hard drive configuration.
Why Upgrade to an SSD?
Hard drives have been the backbone of data storage for many years, but solid-state drives (SSDs) offer distinct advantages, especially for servers. SSDs, like the 0TDNP7 Kioxia, provide faster data access speeds, which can enhance overall system responsiveness and efficiency. Coupled with your Dell server, an SSD can handle demanding applications more effectively than traditional hard drives.
Understanding SAS and SATA
Before diving into the upgrade process, it's essential to understand the differences between SAS and SATA. SAS (Serial Attached SCSI) drives like the Kioxia SSD are designed for higher speed and more reliability, making them ideal for enterprise applications. SATA drives, while more affordable, typically offer lower performance than SAS drives.
Step-by-Step Integration
Preparation:
- Ensure your server is powered down and unplugged to avoid any mishaps during installation.
- Verify compatibility. The Dell 0TDNP7 is compatible with GEN14 PowerEdge servers.
Accessing Your Server's Drive Bays:
- Open the server chassis as per the manufacturer's guidelines.
- Identify the existing hard drive configurations and locate an available 2.5" drive bay for the new SSD.
Installing the 0TDNP7 SSD:
- Carefully slide the Dell 0TDNP7 Kioxia 1.92TB SAS SSD into the open drive bay.
- Secure the SSD in place by tightening any necessary screws or clips.
Connecting Interfaces:
- Attach the SAS cable to the SSD, ensuring a firm connection.
- If your server is configured for SATA drives, check if it supports mixed SAS and SATA configurations before proceeding.
Configuring BIOS/UEFI Settings:
- Power on the server and enter the BIOS/UEFI settings.
- Verify that the system recognizes the new SSD and adjust the boot order if necessary.
Data Transfer and Management:
- Use your preferred data migration tool to transfer data from the existing hard drives to the SSD.
- Configure your RAID settings if your server operates in a RAID setup.
System Testing:
- Reboot the server and monitor performance.
- Conduct a series of tests to confirm system stability and improved performance.
Conclusion
Integrating an SSD like the Dell 0TDNP7 can significantly optimize your Dell server's performance. By following these steps, you ensure a seamless transition from traditional hard drives to a high-speed SAS SSD, enhancing both capacity and efficiency.
To learn more about this product, visit the Dell 0TDNP7 Kioxia 1.92TB SAS SSD product page.
For further assistance and a wide range of server disk solutions, explore our offerings at Server Disk Drives.